Thursday, June 1, 2017

Macro

Nature
for this photo I got super close to the flower and focused it on the center.  I turned the levels up and brightened the photo.

Student choice
For this photo I focused on one flower and got super close.  I turned up the magenta colors and turned the brightness down, and the highlights up.
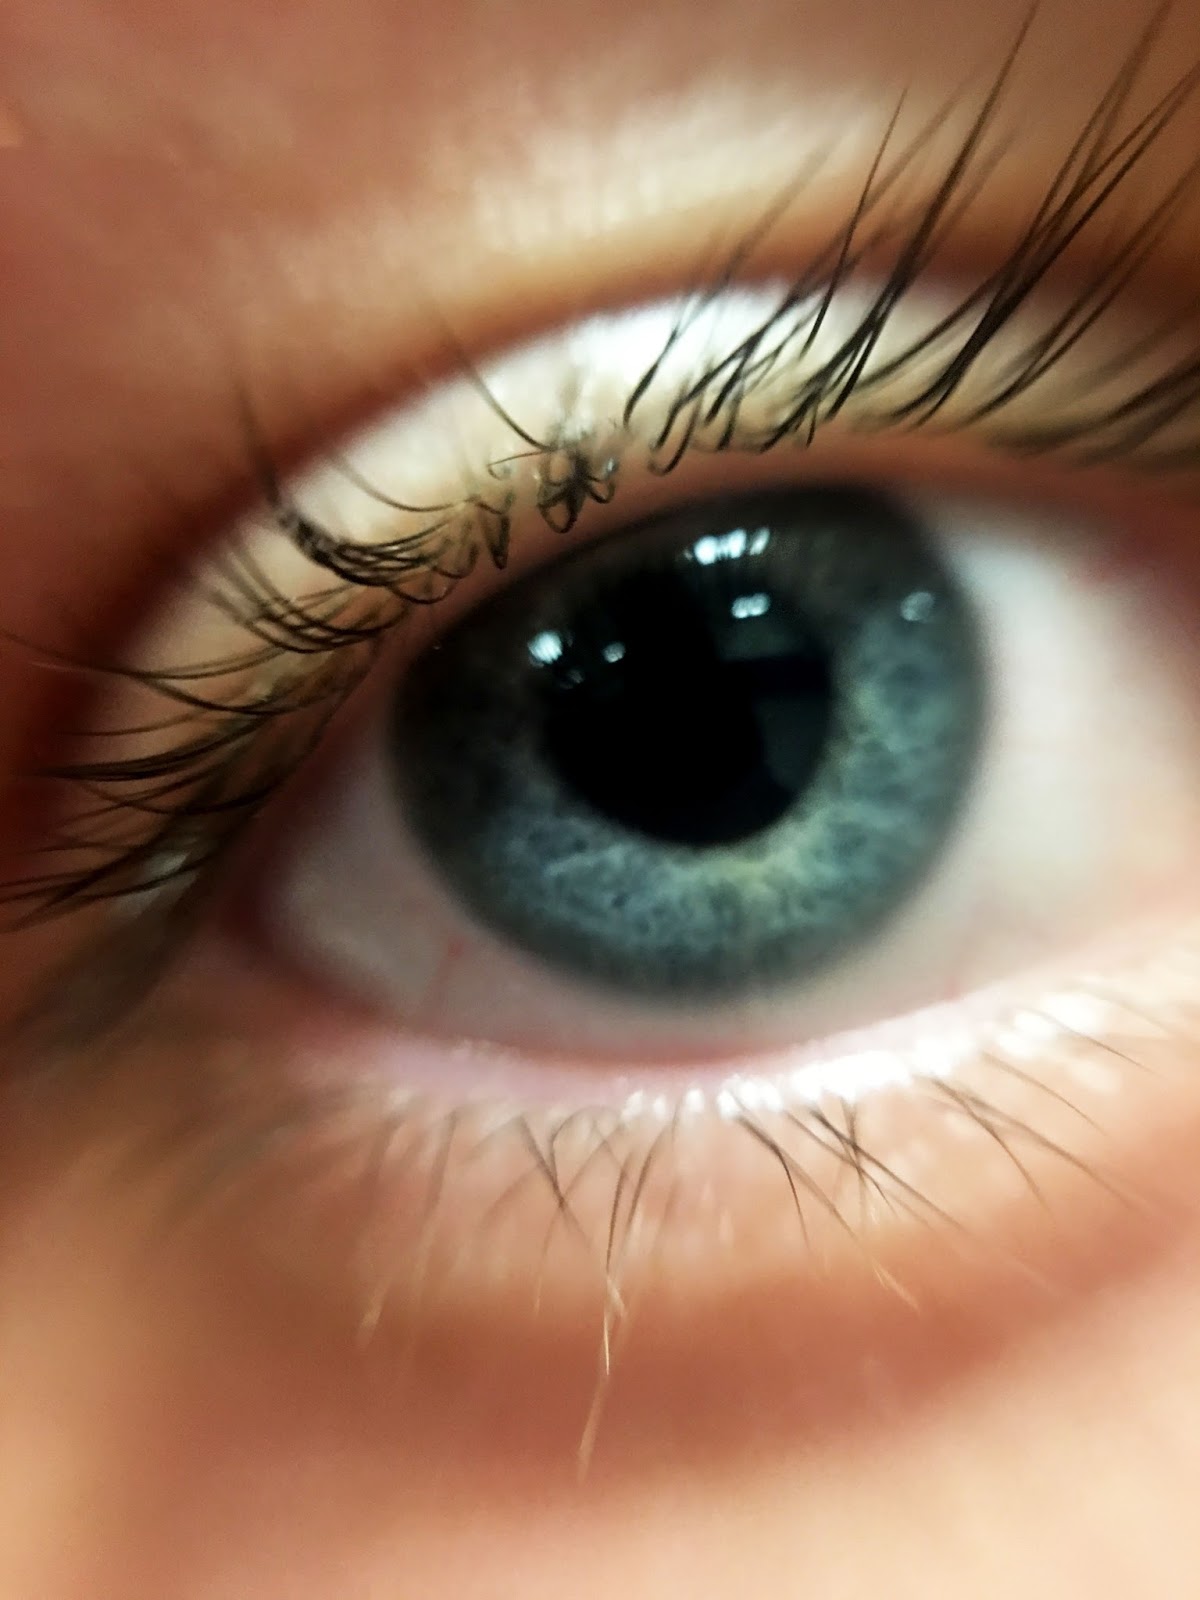
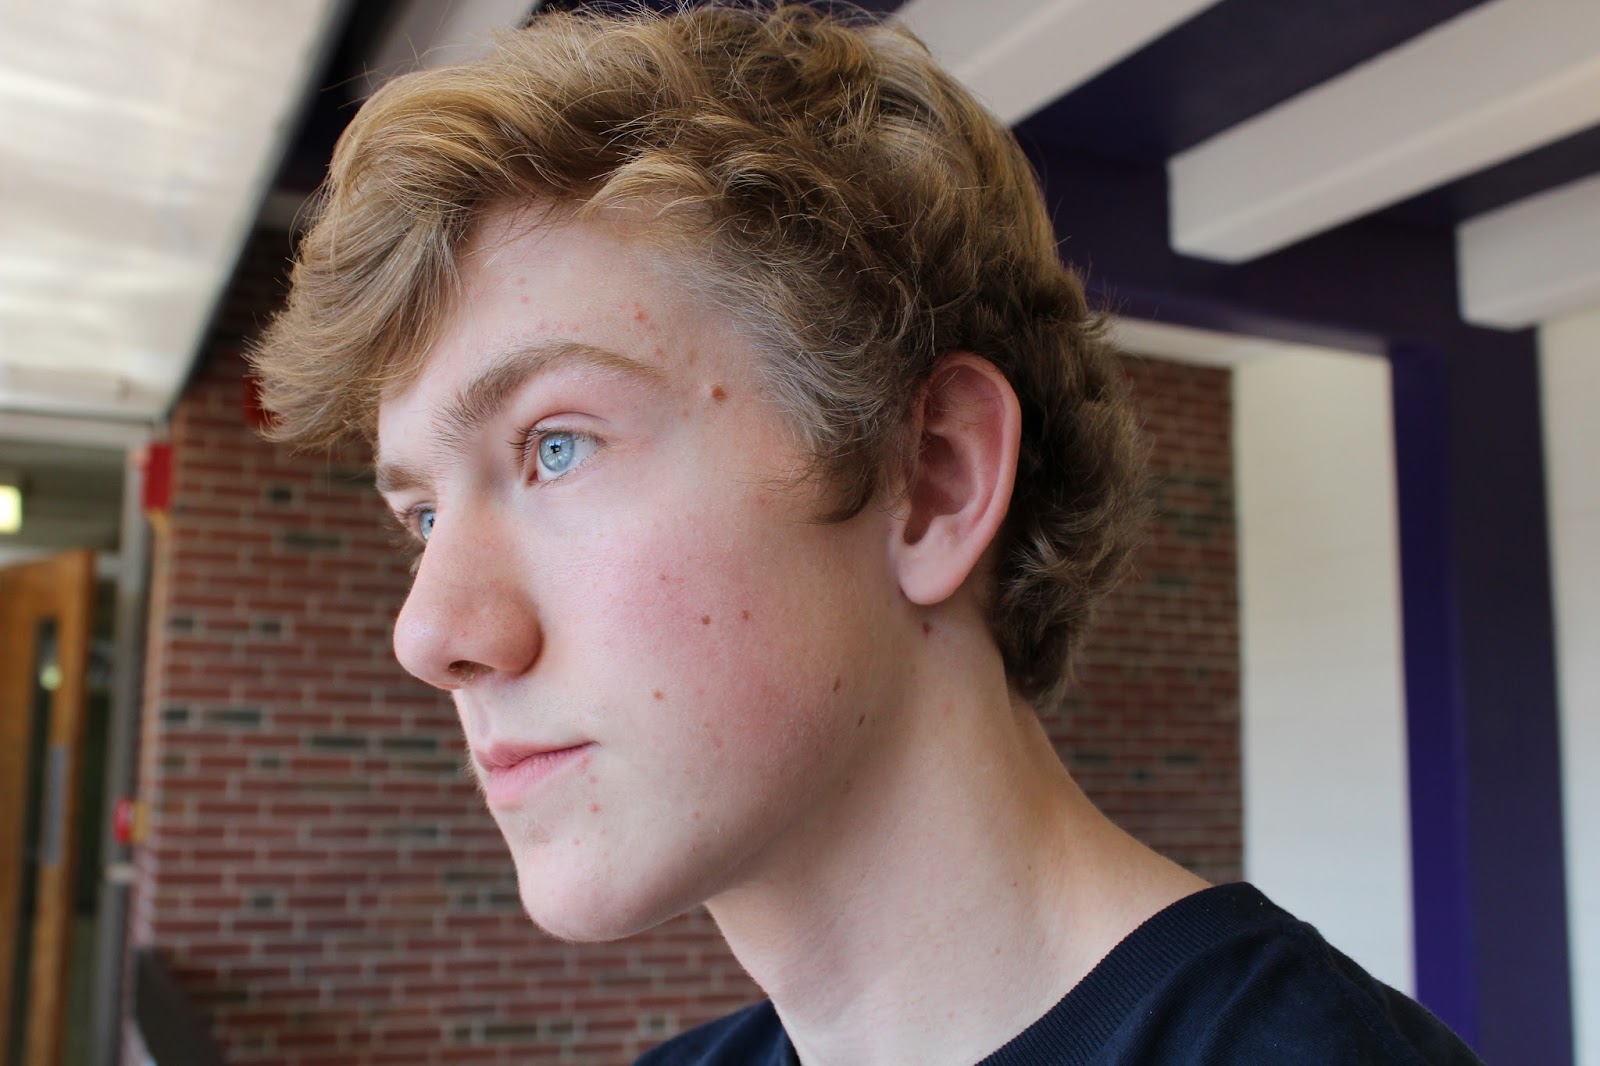

Eye
For this photo Joe Soko was my model.  I chose him because of the color of his eye and length of his eyelashes.  I felt as though this photo didn't need any editing so i just added some highlights. 

Inanimate object
For this photo i chose the walls of the school and got very close.  I like the way the background is blurred out in almost a circular motion.  I turned up the blues in this photo.
man made
For this photo i chose a blue artificial flower and used natural sunlight as my source.  All I did was add highlights and turn the brightness up.

Friday, May 19, 2017

photo collage

For this project I dedicated my photo collage to a friend of mine that passed away.  I chose the sky background to go with the quote "Fly High Colby".  I added the soccer ball and my cleats with the date he passed and his initials because his passion was soccer.  I changed the blend mode to lighten up the images.  The angel wings and halo came with a white background and i switched the blend mode to multiply to get rid of the white.  I scanned in the feathers and also changed the blend mode to multiply..

Friday, April 7, 2017

Paint splatter and sketch

For this project, i used the edited picture if Jack.  I started out by getting rid of the backround and then i downloaded paint splatter brushes.  I added a new layer for every paint splatter.  I tried using bright colors to add more to the image.
For this photo i used the edited picture of JJ and all i did was follow the tutorial.

Retouching


On the top, you see the original photo i took of Nick.  I stood by a window for the lighting.  My focus was his eyes, so i chose to turn his eye blue by using the hue and saturation.  I cleared his skin and facial hair by using the healing brush.  I then turned the photo black and white an adjusted the levels.
 On the left is the original photo i took of JJ.  For the retouching i cleared her skin using the healing brush. added blush, eye-shadow, and lipstick by using the paintbrush, also i added eyebrows and eyelashes from a free download i found online.

On the top, is the original photo i took of Jack which i used a window for the lighting. I used the healing brush for clearing his skin.  I used the paintbrush to add highlights to his hair, I brighten his eyes using the hue and saturation, and i gave him and earring and added a drop shadow to make it look more real.

Friday, February 17, 2017

Puzzle


For the puzzle project JJ and I went outside for the best lighting. I edited the image and then used the puzzle template.  I moved pieces around and deleted them with the magic wand and move tool. After all the pieces were moved and deleted that needed to be, I tilted the pieces and layered them.  Then i added drop shadows and used bevel emboss to give a shadow and 3D look to the pieces.  I added a pink backround to bring out the pink in her scarf.

Thursday, February 2, 2017

Geometric pattern


For this project I started by making a geometric design.  I then chose a picture i took of the morning sunrise above the water.  I layered the design over the picture and the used the magic wand tool to adjust everything.  Next i adjusted the levels and brightness.